Gunter Steinhart Bolero R and DVP 2XR RS for Donald.


We will be rebuilding a pair of amplifiers and a preamplifier for Donald. The Bolero's will be getting a full refurbishment and chrome as in the rebuild of my amplifiers (posted on this blog 23.05.2016), Donald also wants a preamplifier that will match his new Boleros, he selected a Gunter Steinhart DVP 2XR from his collection for this and asked me to restyle and refurbish it.
The preamp is a first for me as I always rebuild equipment to the original factory specification, the most I modify to a unit is the paint color or changing from paint to chrome or perhaps a new face or name plate but it is always in-line with the original equipment look and specification. Over the years I have designed and styled many new equipment, I have never been asked to re-style and repackage vintage equipment, but it was a challenge so I accepted.
During the past week me and my mechanical partner Chuck Johnson designed various new concepts for the "New" DVP 2XR, I will call it DVP 2XR RS (RS= Refurbish re-Style) we settled on a design that embodies the style of the Boleros so it will give a seamless look if placed next to the Boleros, we will be re-using the bottom, front and rear enclosure portions as well as all the original PCB's wiring and layout form the original DVP 2XR, a new chrome top cover, new faceplates, new Bolero-style wood bottom frame and a new instrument plate will be added.
Below is a picture of the original preamp and a Solid Works rendering of the proposed re-style. I will be posting our progress on a weekly basis.

The original Steinhart DVP 2XR SN: 1619

The proposed option 1 re-styled DVP 2XR RS SN: 1619RS1

The proposed option 2 re-styled DVP 2XR RS SN: 1619RS1
So, we have decided to go with option 1.
The wood base
We found the wood for the base frames, this was harder than I thought, as it turns out most wood merchants only sells Chipboard, Super wood, Pine and a bit Meranti. Eventually after some phone calls and a lot of driving around we managed to buy a solid Teak plank from Sawmill Products near Lanseria Gauteng, this guy have a lot of Solid hardwoods.Teak is not cheap the raw plank is 1520 x 285 X 25mm and cost R175.-
The plan is to manufacture the parts for the base on the CNC and then glue and finish by hand.


Above is the Teak plank, and a picture of us designing some parts.
Below is the final design renderings complete with all legend's nameplates, switches and knobs, so now drawings will be issued and we will start this build.


This is what the set will look like the two Bolero's left and right with the preamp in the middle.
Machining the Teak Base frame, so we got our plank of teak fitted it on the bed of our machine and surfaced the plank to get it flat, we used DeskProto to convert our SolidWorks STL file of the four sides of the frame into a manually flipped 3D milled part with a roughing cut and a finishing cut on both sides.
The teak machines easily we used a 3mm 2 flute long series solid carbide bit and we only sprayed compressed air on the bit to keep it cool and to clear thee chips. The Spindle speed was at 18000rpm and the feed rate at 4000mm/min.
The teak machines easily we used a 3mm 2 flute long series solid carbide bit and we only sprayed compressed air on the bit to keep it cool and to clear thee chips. The Spindle speed was at 18000rpm and the feed rate at 4000mm/min.


The outsides of the frame being cut including the chamfers, 90' corners and dovetail joints all in one operation.
This video is at 1:1 speed and shows the manually flipped part during the finishing cut of 0.09mm per stroke, with this the finished product does net need to be sanded as the finish is as smooth as it can be - ready for assembly and varnish.

The frame showing the milled in dovetail joints in the corners

The frame ready for glue.

The Teak with a clear varnish - very attractive classic looking wood.

The completed teak frame ready for assembly to the metal-work

The frame attached to the DVP's cradle
Ok so now we are waiting for the Chrome plating to arrive from AE and the final assembly will begin on both the set of Bolero's and the preamp, I am planning to have this project completed by end August as there are two more projects lined up for this year namely the Threshold S150 / SL10 rebuilt and a SEAS high-end rear loaded horn loudspeaker.
My apologies for the long wait I have been very busy with other business but at last I completed the DVP 2RX and the is the rest of the post. The client also requested we fit a Phono-stage to the preamp, for this task I decided to use my Phonograph Pure MKII, this phono-stage was developed two years ago for a high end professional application so it was ideally suited to this application as it is a very close coupled SMD design providing ultra low noise and very precise reproduction.
I updated the design to version 3IH with a new opamp as the LME49740 has become obsolete (strange as this was a modern opamp to start with),the new opamp I chose was the OPA2134UA. I am very satisfied with this new device - WOW the power supply for the phono-stage remained mostly unchanged I only changed some timing values in the startup delay circuit hence 2IH
I updated the design to version 3IH with a new opamp as the LME49740 has become obsolete (strange as this was a modern opamp to start with),the new opamp I chose was the OPA2134UA. I am very satisfied with this new device - WOW the power supply for the phono-stage remained mostly unchanged I only changed some timing values in the startup delay circuit hence 2IH

As-built Circuit diagram for the power supply

As-built Circuit diagram for the phono-stage complete with MM and MC gain and load switches, I tested with a Micro-Seiki BL101/MA707 Ortofon 2M Bronze and Denon BL103


Thank you Donald for all the patience during this project!

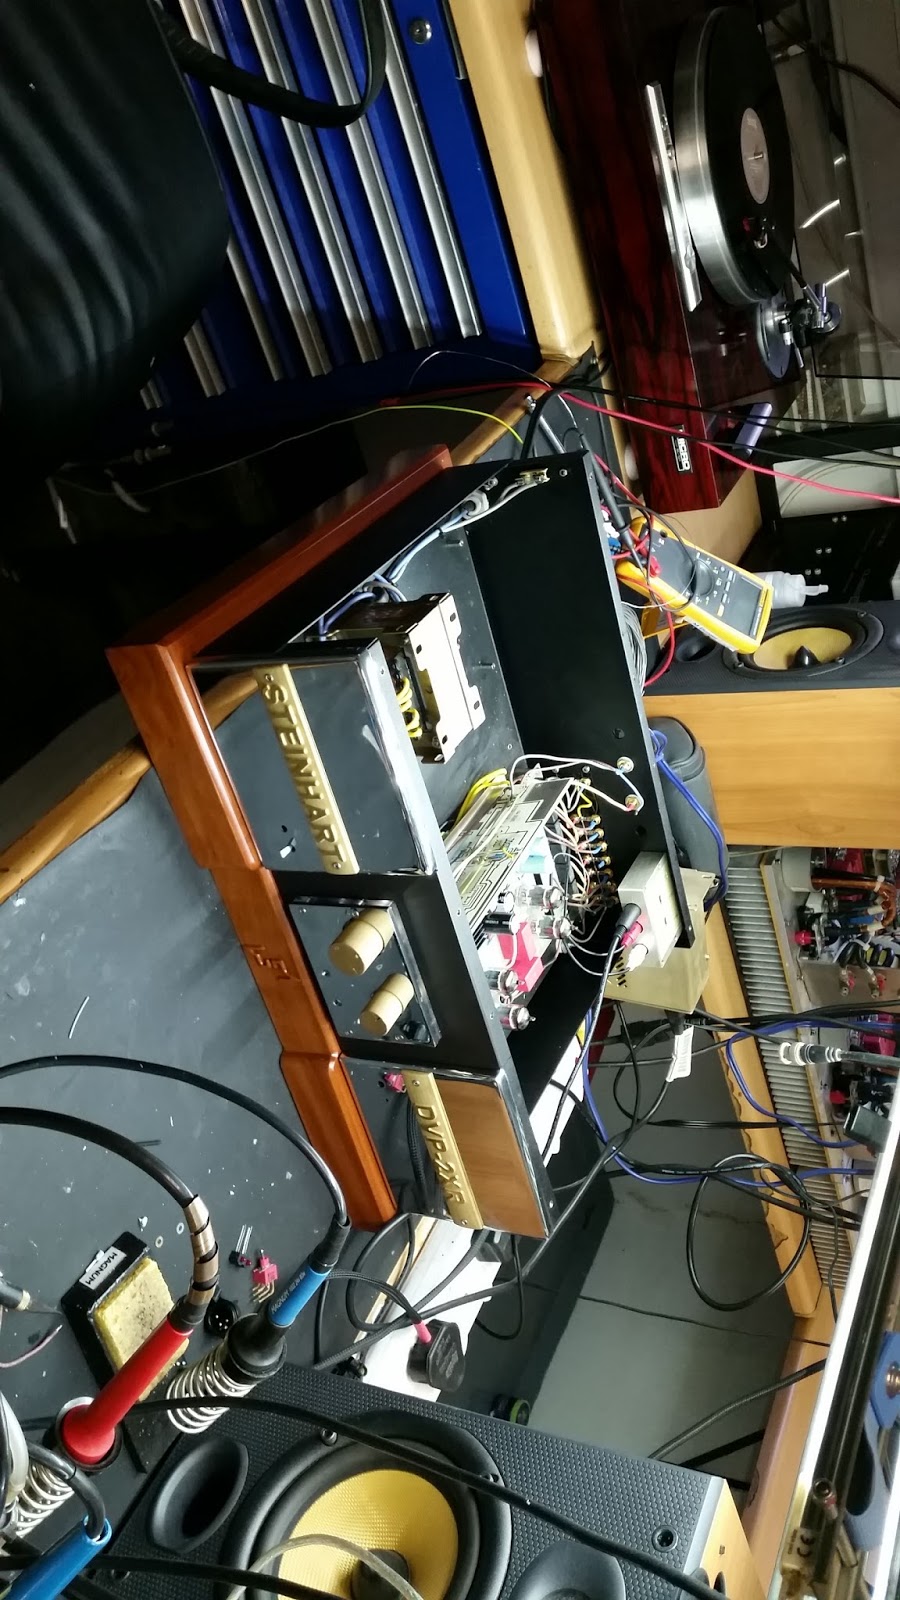
Random picture of the Lab ;)
No comments:
Post a Comment